
Clean Install 7 Windows ISO
We have created a bootable Windows 7 disc using Step 2. Now it is time to restart the computer and boot using the bootable USB or DVD.
You can either set the boot order from the BIOS menu or use the shortcut boot menu key. It varies according to motherboards for desktops and laptop manufacturers.
Laptops
| Brand | Boot Menu Key |
| ASUS | F8 |
| Acer | F12 |
| Dell | F12 |
| HP | F9 |
| Lenovo | F8, F10, F12 |
Desktops
| Motherboard Brand | Boot Menu Key |
| ASUS | F8 |
| Gigabyte | F12 |
| MSI | F11 |
| Intel | F10 |
| ASRock | F8, F11 |
| Biostar | F9 |
We will boot the PC using the bootable USB we created for installing Windows 7.
1. Restart your computer after plugging the bootable flash drive into a USB port.
2. Boot from the flash drive, and then the Windows booting logo will appear on the screen
3. The Windows installation wizard will appear after the files have been loaded. Select language, time and currency, and keyboard method.
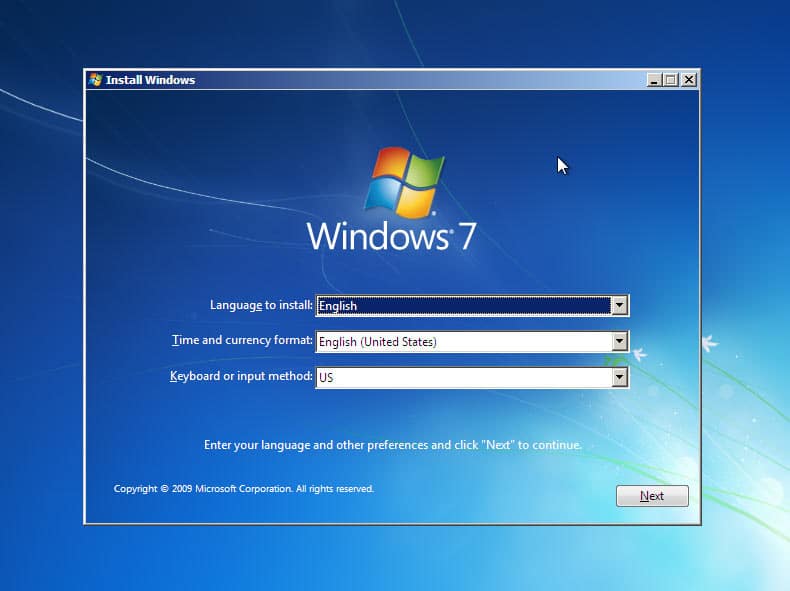
Then click on the Next button, which will take you to the main setup screen.
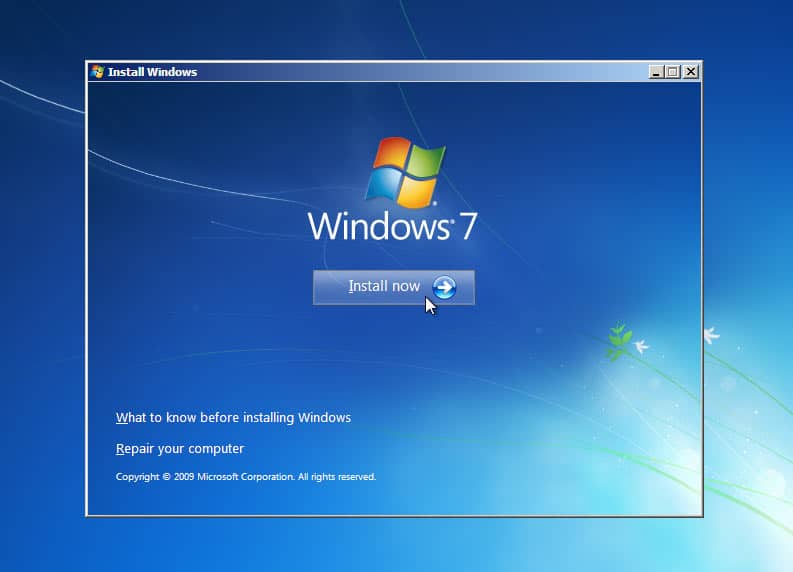
4. Click on the Install Now button to move forward in the Windows 7 installation process.
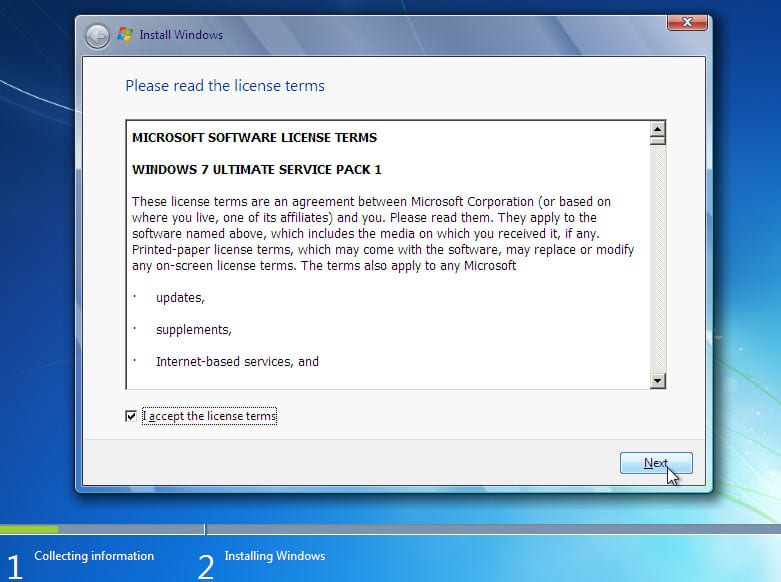
5. On the screen, tick the box that reads I accept the license terms and then click on the Next button.
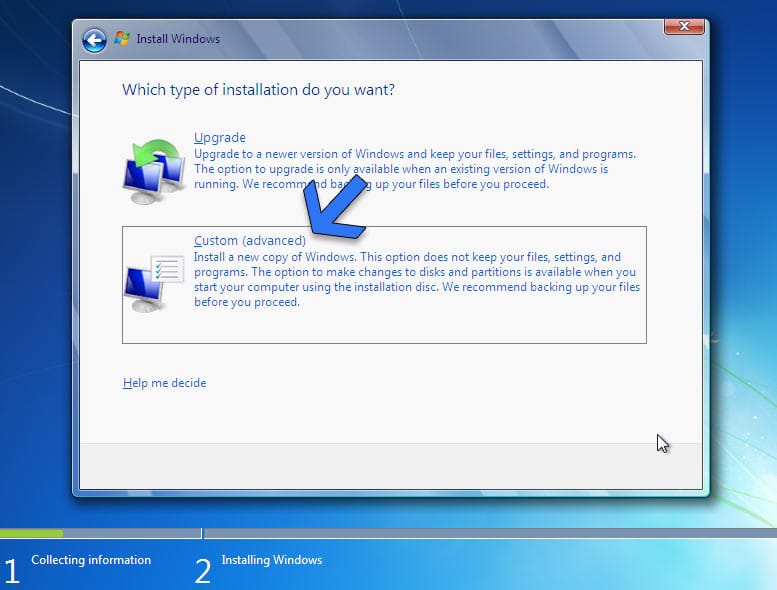
6. Next up, we will get two options for installation – Upgrade and Custom (advanced).
Select Custom and click on the next button to move forward.
7. After that, we will land in the partition selection menu. Select the partition in which you wish to install Windows 7.
The official recommendation of partition size is a minimum of 32 GB approximately. We used a smaller partition for the purpose of demonstration.
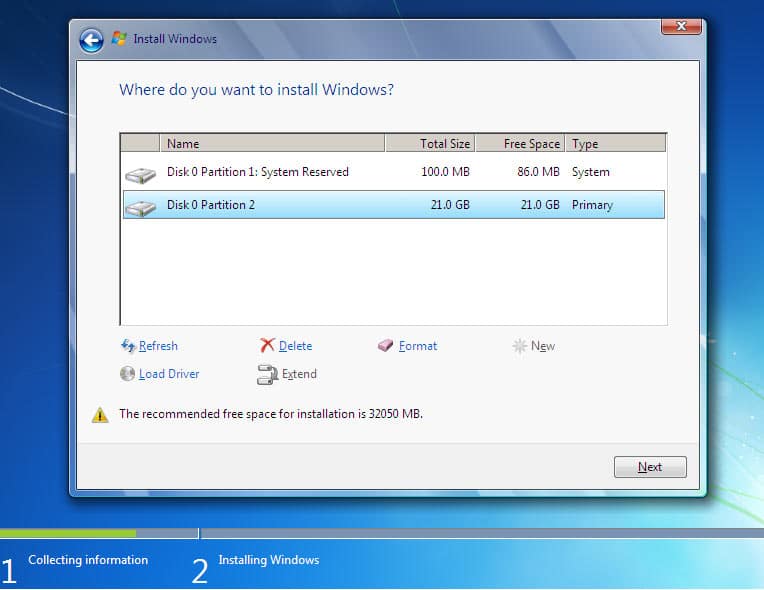
Click on the Next button after selecting a partition.
8. It is time to sit back and let Windows 7 ISO get installed on your computer.
The installation time will depend on your storage and flash drive’s speed. Partitions on SSDs are always faster for installing any operating system.
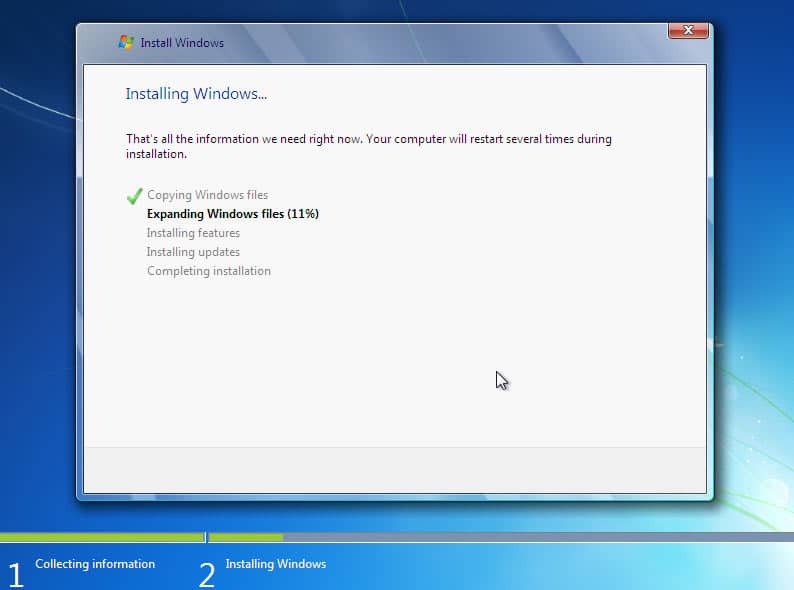
Your computer will restart a couple of times which is a standard part of the proceeding. There is no need to get worried there.
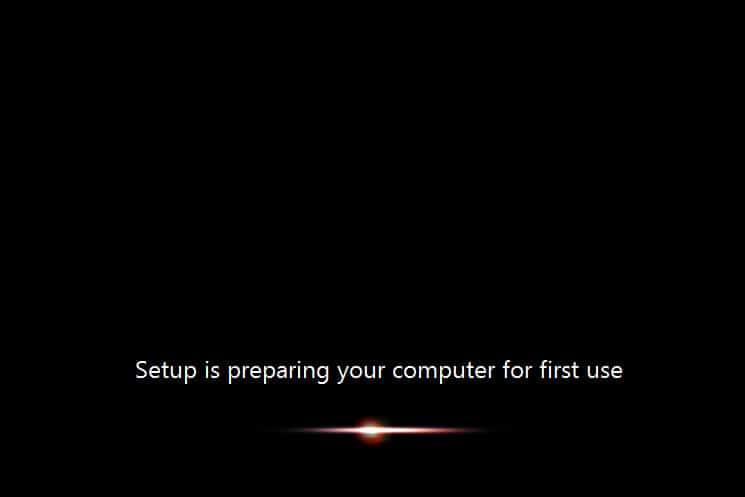
9. The final setup will prepare your computer for the first time use.
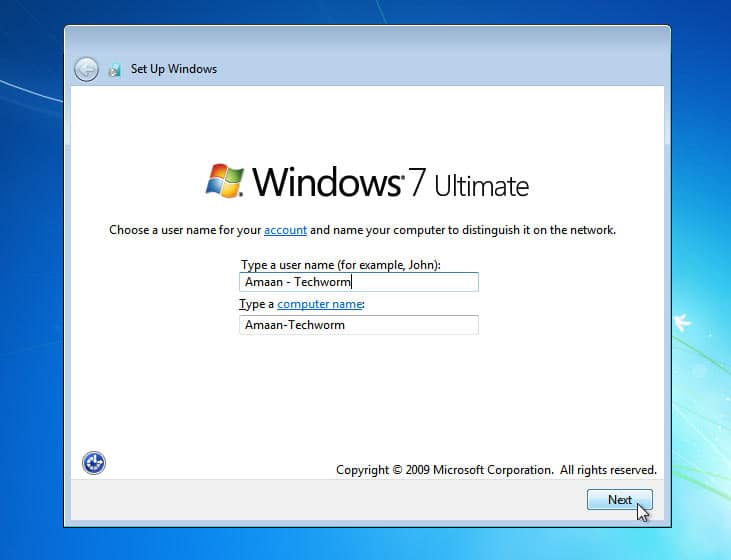
10. Once set up, you will be prompted to provide a user name for the account and give your computer a name.
Click on the Next button after filling in the names.
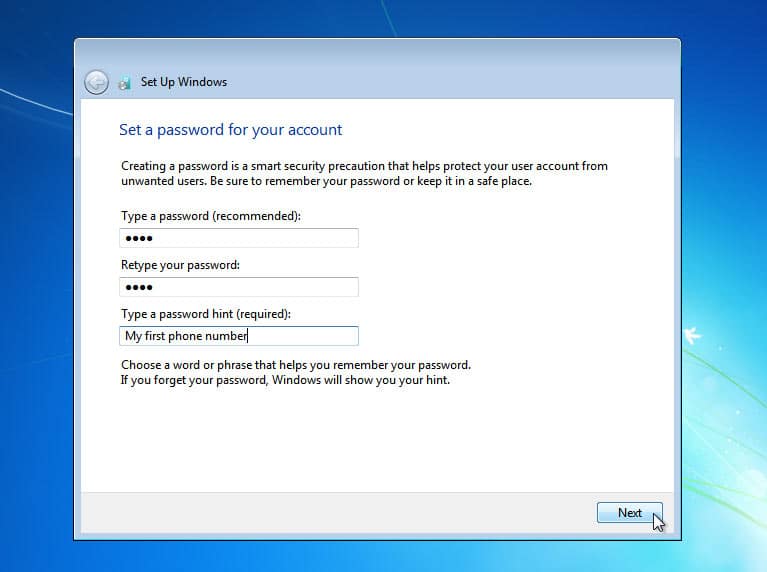
11. After setting up the user name, we will now have to create a password for the user account.
It will be asked while logging into the computer. Make sure to create a complex password yet easy to remember for you.
Give your password a hint for reminding in scenarios where you forget it. Give your password hint a cryptic touch to avoid being guessed by others.
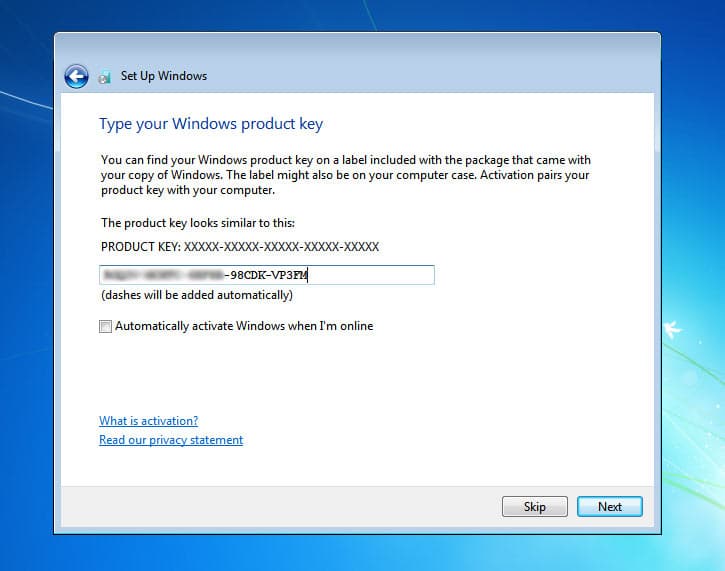
12. Here, on the next page, you will b asked to enter Windows 7 product key.
Enter the key you have handy and click on the Next button. In other cases, you can click on the skip button and do it later.
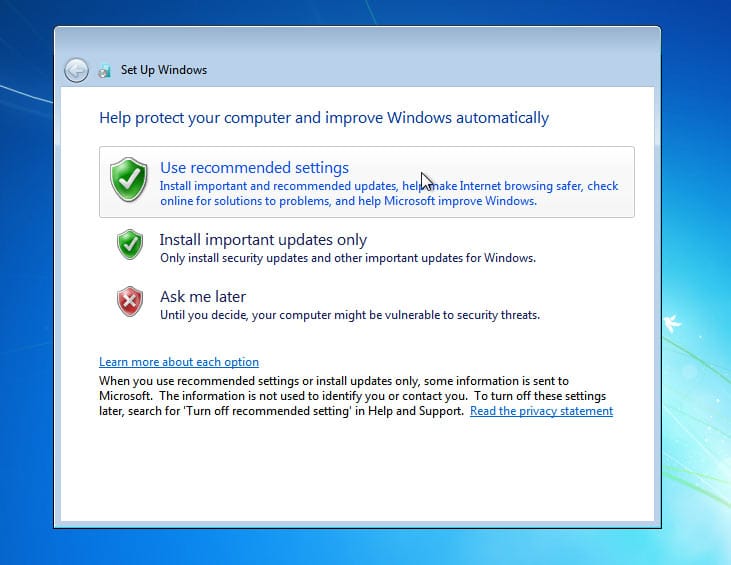
13. Now, you will need to select the update settings. If you are unsure about the updates, select the first option Use recommended settings.
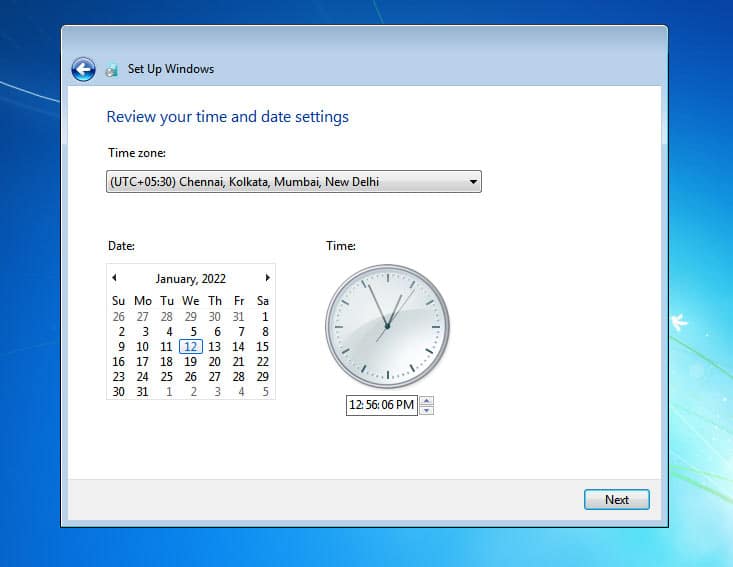
18. You will now set up a time and date here. Select your region’s timezone and click on the Next button.


0 Comments